
10 step ultimale guide to diy tie-dye by ufabet
It seems like EVERYONE on Insta, TikTok and YouTube is wearing tie-dye at the moment and we’re here for it!
We’re gonna take you through the steps of tie-dying literally anything in your wardrobe, and we mean anything, from socks or an old tee, to joggers or a hoodie. Let’s go!
What you will need
Many big retailers including Amazon stock tie-dye kits, but you may find everything that you need around the house anyway.
You will need:
- Rubber bands
- Rubber gloves
- A plastic bag
- Squeezy bottles (you could use an empty shampoo bottle with a squeezy nozzle!)
- Dye ufabet
- An item you want to tie-dye
TOP TIP: We recommend doing this outside and wearing something you don’t mind getting stained – things could get messy!
Step 1: Decide what you’re going to tie-dye
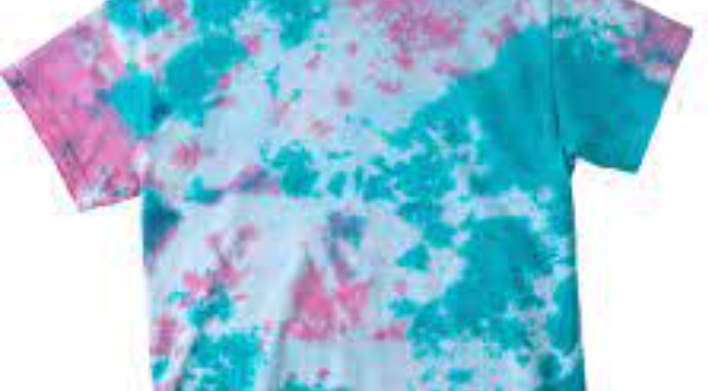
You can tie-dye absolutely anything! The choice is yours. The most popular tie-dye project out there has to be tie-dye t-shirts, but we’re seeing tie dye joggers, socks, hoodies and more all over social media right now.
Step 2: Pick your colours
Choose the colour you’d like your item of clothing to be. You can choose just one colour (we love pale blue) or multiple colours for a more vibrant rainbow effect.
Once you’ve chosen what you’re going to tie-dye and your colours, and you’ve collected everything you’ll need, you’re ready to go!
Step 3: Pick your design
There are so many different designs and patterns you can choose from. Here are some of our faves:
- A spiral
- Stripes
- A bullseye
Step 4: It’s ‘scrunch’ time
Dampen your piece of clothing with warm water and lay it on a flat surface. Put on your rubber gloves and scrunch the fabric, depending on the pattern you’d like to create.
To achieve a spiral pattern:
- Choose where you want the spiral to start and pinch the centre
- Twist the fabric in a clockwise direction until all the fabric is in a tight spiral shape
- Use 3-4 rubber bands to secure the material in its spiral shape
For a stripy pattern:
- Gather and fold the fabric in the middle to create a vertical tube-like shape
- Use a rubber band to tightly tie the material at one end
- Add more rubber bands to the material, spacing them out depending on how close you’d like the stripes to be
To create a bullseye effect:
- With one hand, pinch the fabric at the centre of where you want the bullseye to be
- Wrap the other hand around the fabric, just below where you’re pinching it
- Using the hand pinching the fabric, pull the material upward into a cone shape, guiding it with your other hand
- Place rubber bands down the length of the cone-shaped fabric, spacing them evenly
Step 5: Start tie-dying
Squirt the dye all over both sides of your scrunched up bundle of clothing. If you want to make your finished product multiple colours, use the rubber bands as a guideline for creating sections of different colours.
Step 6: It’s a waiting game
Once you’ve dyed your item of choice following the steps for your fave pattern and you’ve put it in a plastic bag, it’s a waiting game.
Depending on the look you want to achieve, let your piece of clothing soak up the dye for at least an hour. For a lighter vibe, let the colour absorb for a couple of hours, or let it sit for up to 24 hours for brighter, more intense colours.
Step 7: Rinse and dry
Once you’ve left your item to absorb the dye, undo the rubber bands and rinse your item under cold water until the water runs clear. Then hang it up to dry.
Step 8: Take your OOTD Insta
Your DIY tie-dye piece is not complete without taking a pic for the gram!


